
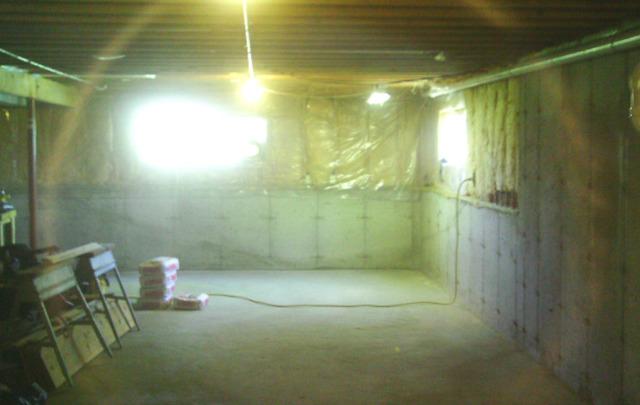
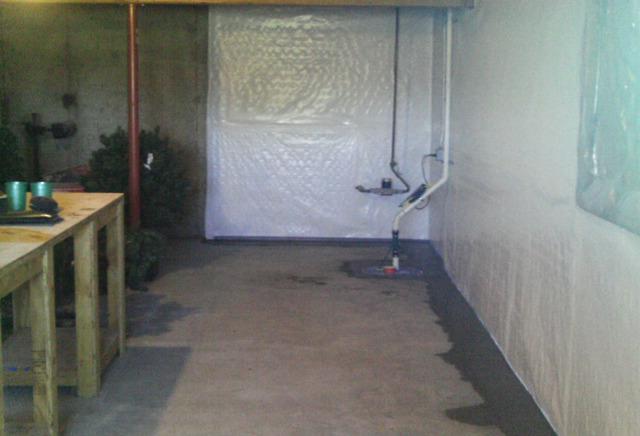
Basement before Waterproofing
The basement before had repeated water seepage.
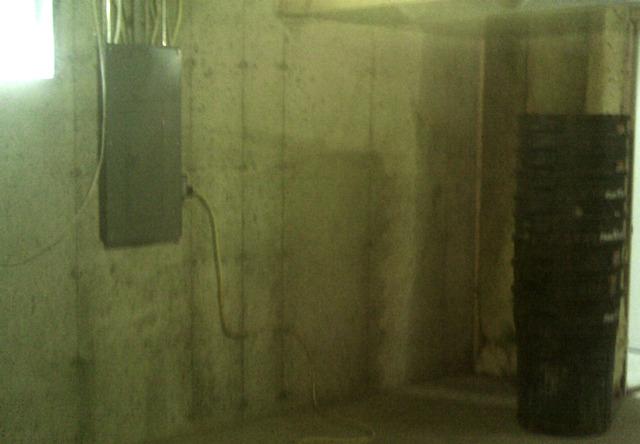
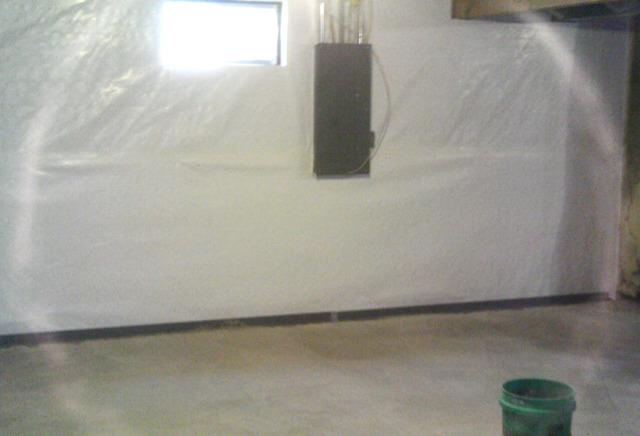
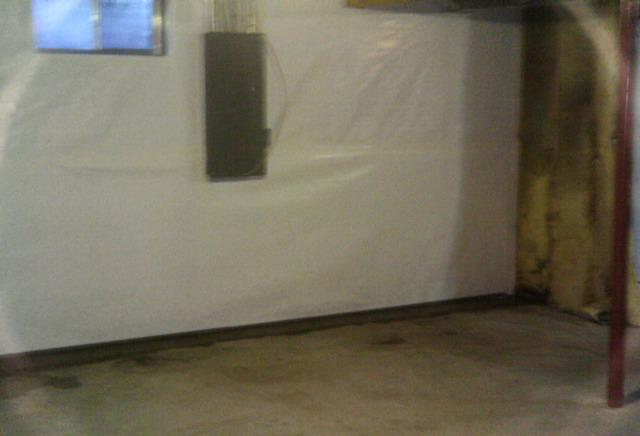
Walls Before CleanSpace
Water seepage was especially prevalent where the walls meet the foundation floor.
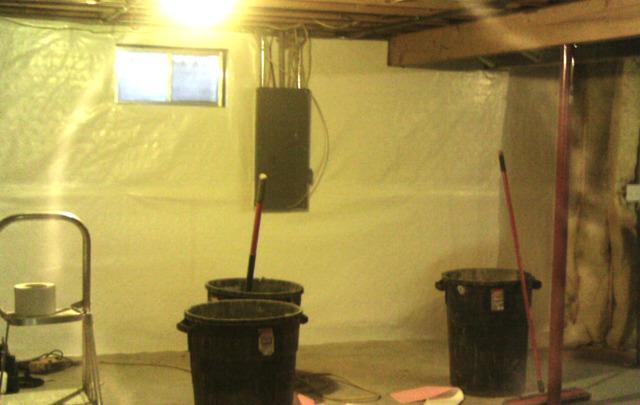
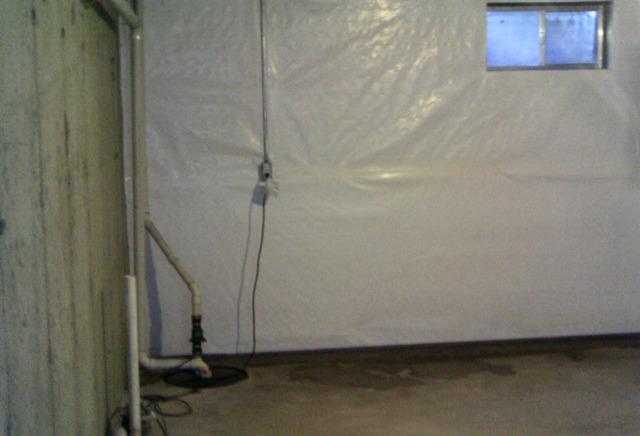
CleanSpace Installation
The team installs CleanSpace to drain wall leaks.
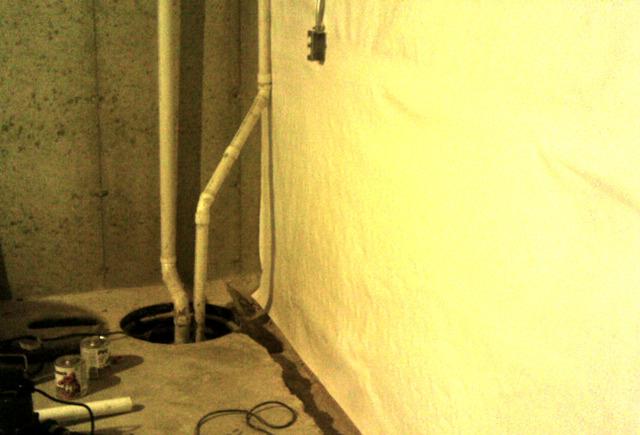
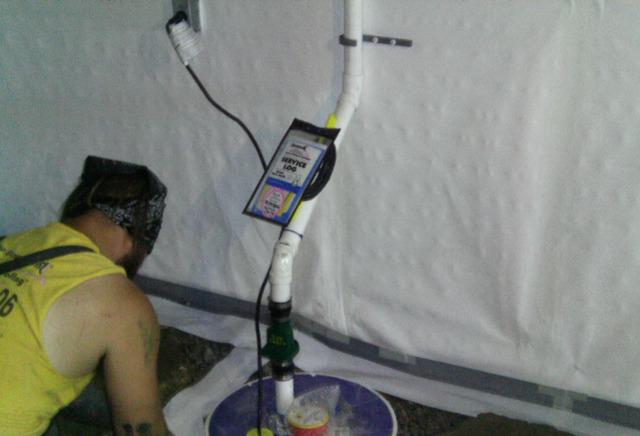
Old Sump Pump
The old sump pump did not have a cover, needed a more efficient pump and an exit line.
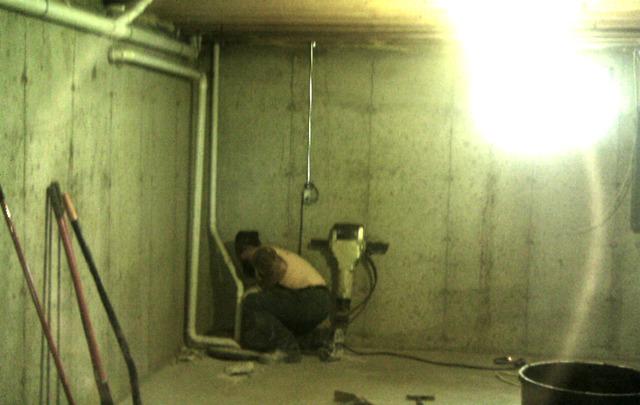
Improving Old Pump
The team improves the previous pump with a more efficient pump.
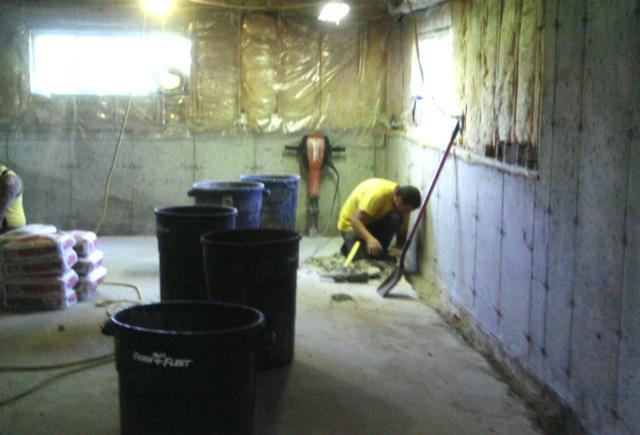
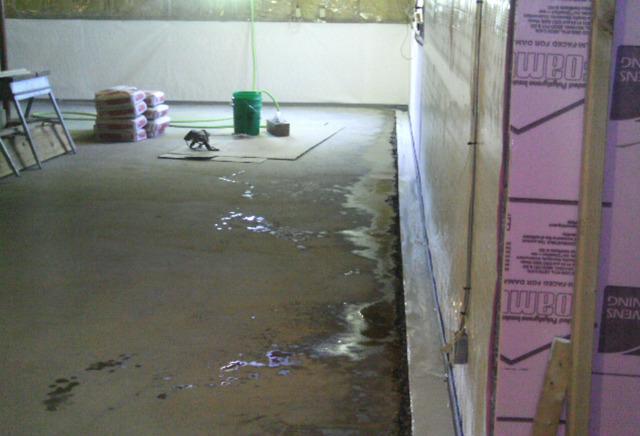
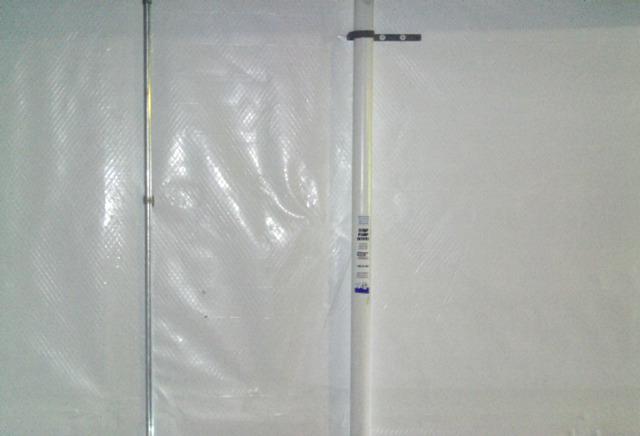
Preparing For WaterGuard
The team member is working to ensure that the newly constructed perimeter is debris free for the installation of WaterGuard.

New Sump Placement Preparation
This is where the new SuperSump will be installed.
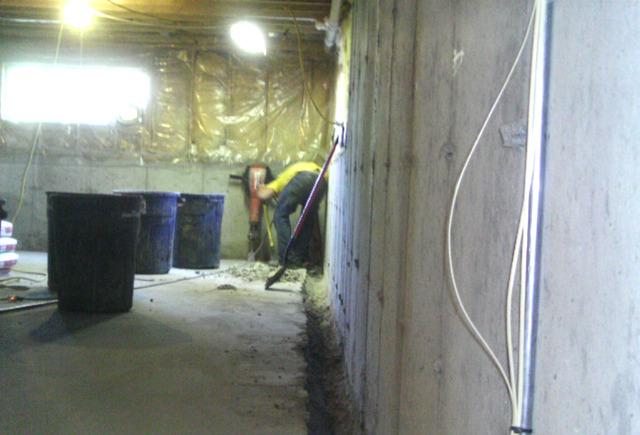
Constructing Perimeter
The team uses various tools to construct the perimeter in preparation for WaterGuard installation.
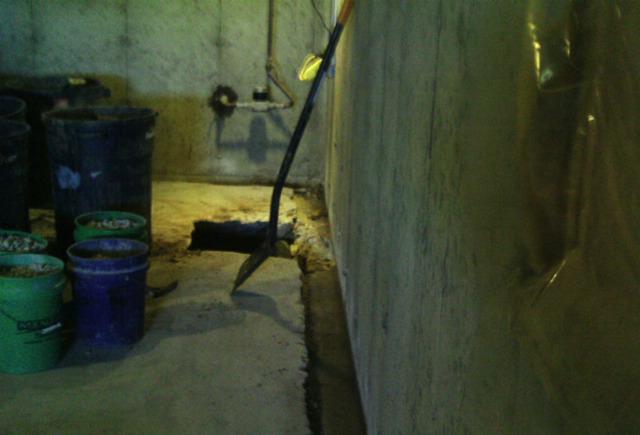
Prepared Perimeter
The perimeter is now ready for WaterGuard installation.
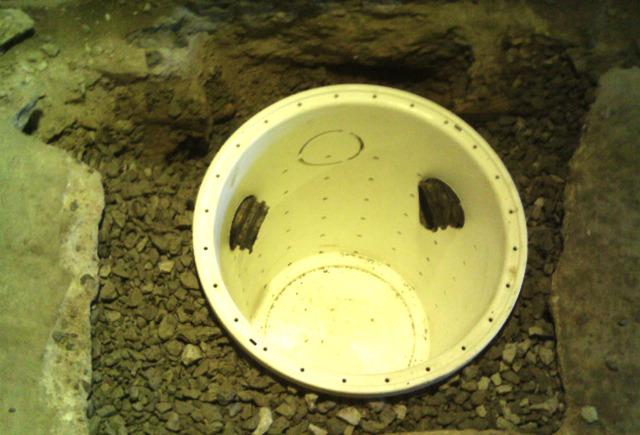
Perforated Sump Liner
After a hole is constructed, the team places the durable, perforated sump liner to allow ground water seepage

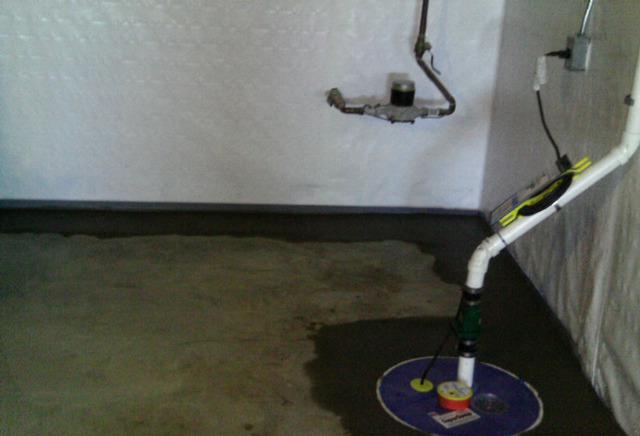
Improved Old Sump Pump
The team constructed a new exit line, replaced the pump with a more efficient one and covered the sump to keep water vapor from rising into the space.
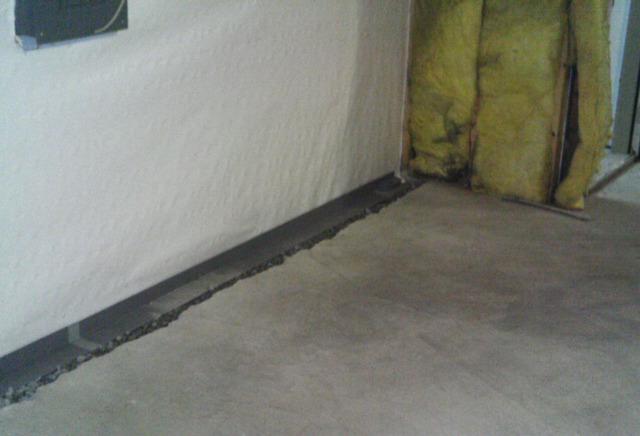
Installing WaterGuard
The team installs WaterGuard on top of the foundation footing to prevent clogs.
Installing WaterGuard With CleanSpace
CleanSPace is securely tucked into WaterGuard to ensure that wall leaks are drained to the drainage system.
Perimeter Almost Finished
The team lays CleanSpace strips on top of the WaterGuard system to protect from the concrete that will be poured to finish the installation.
Preparing SuperSump for Completion
The same CleanSpace system is used around the sump pump.
CleanSpace & WaterGuard
CleanSpace and WaterGuard work in perfect conjunction to keep wall leaks away from the foundation floor.
Improved Sump Pump, WaterGuard & CleanSpace
Improving the old sump pump would not have been enough to keep this basement but with WaterGuard, CleanSpace or SuperSump this basement has much more potential to ward off water intrusion.
Perimeter Waterproofed
To finish the installation of WaterGuard, the team pours concrete to level with the rest of the foundation floor.
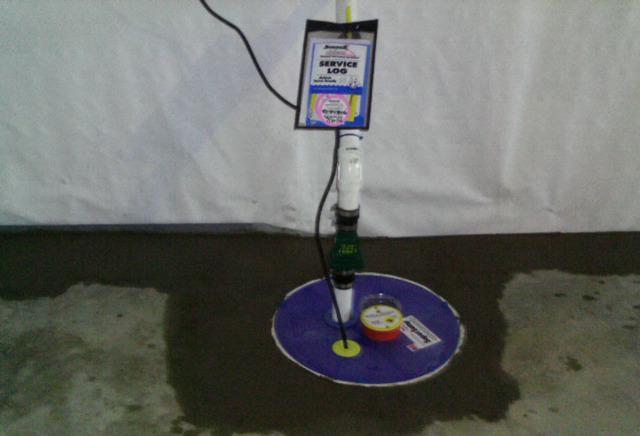
SuperSump Installed
SuperSump comes with special features such as the WaterWatch alarm system that activates when water rises beyond a certain point in the system.
CleanSpace
CleanSpace not only drains wall leaks to the WaterGuard but also has an antimicrobial additive to resist mold growth on the liner.
SuperSump, WaterGuard & CleanSpace
These systems are designed to help keep basements dry.
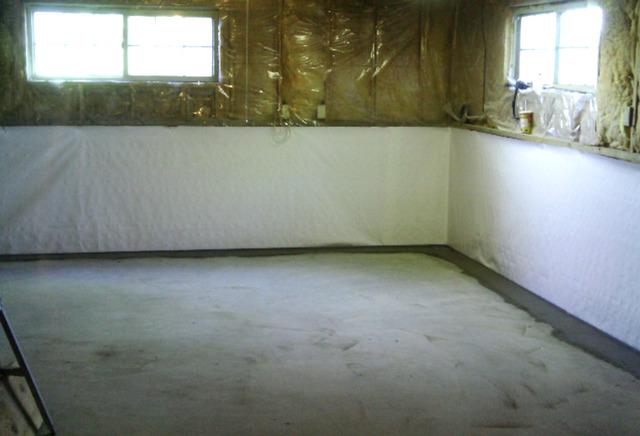
Waterproofed Basement
Now that the team has installed patented and efficient products and improved on the old, the homeowner is thrilled to have claimed her basement back!