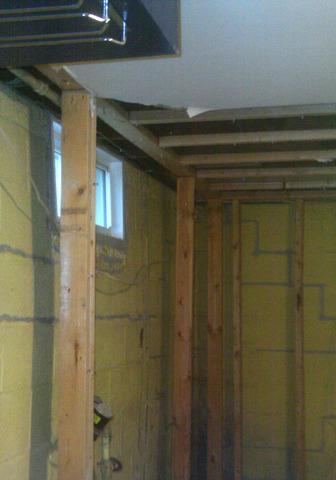
Drywall Removal
The team had to remove some of the drywall to gain access to floor
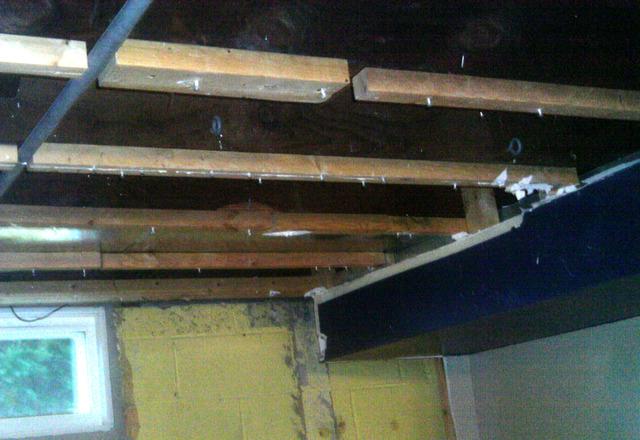
Prepping Installation
Bow that the drywall is removed the team can begin to install the PowerBrace system.
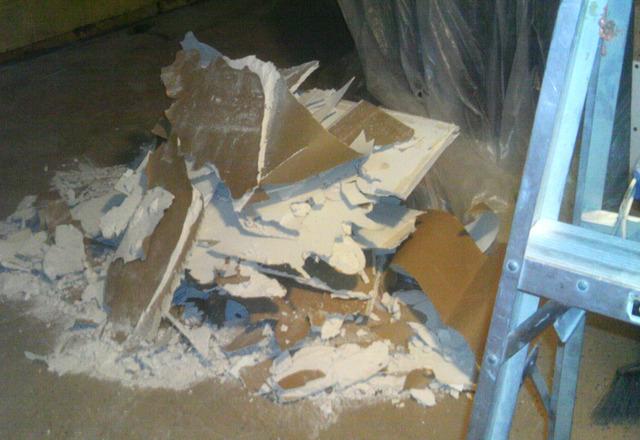
Let Us Clean-Up
The team strives to put the WOW so they will clean up the mess!
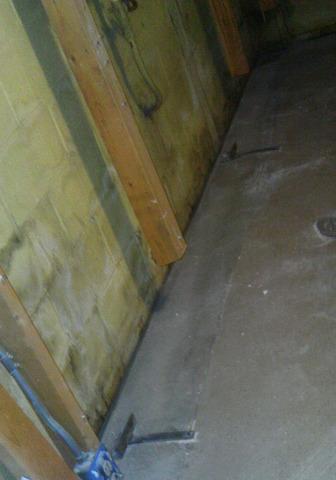
PowerBrace Footing
Once the locations of where the PowerBrace beams will go, the team begins installation by installing the footing of the beams into the foundation floor.
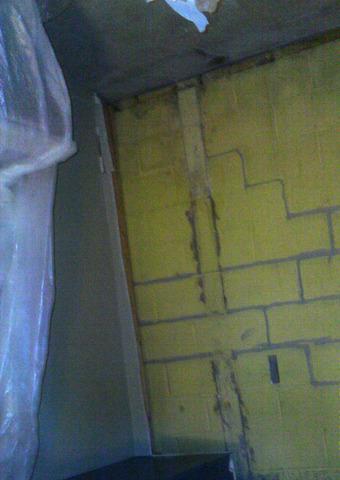
Old Methods
There's remnants of old systems that may have been used to stabilize the wall before.
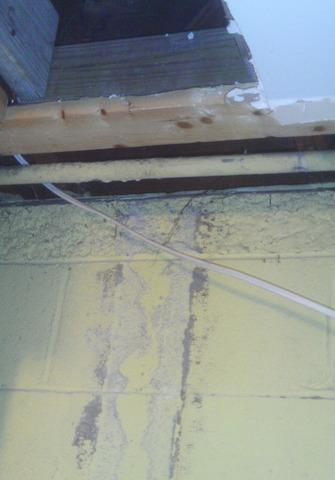
A Closer Look
It possibly was an I-Beam system that could have been incorrectly installed.
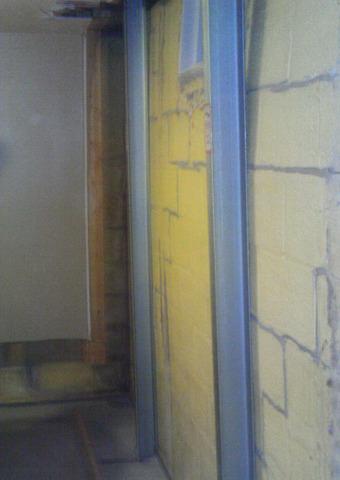
Bowing Walls
The side view gives us an idea of how severe the walls were beginning to bow. PowerBrace system is installed and will be tightened straighten the wall over time!
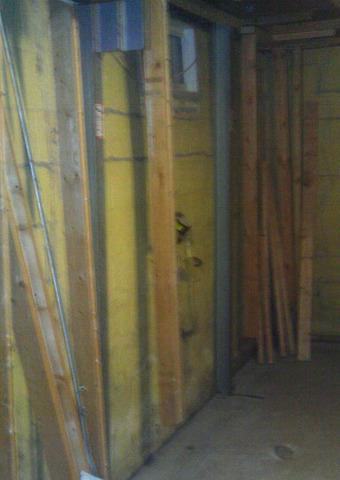
PowerBrace Installed
Once all of the components are in place, the team tightens the system for a secure hold.
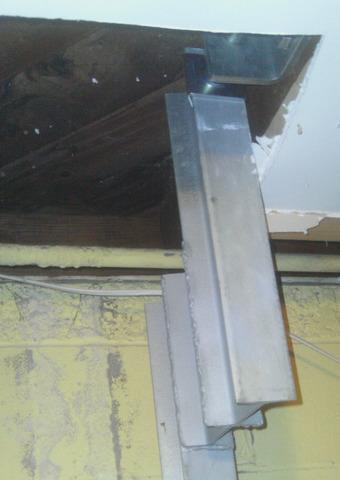
Customizing
The team had to customize the top part of this PowerBrace I-Beam to ensure a proper hold
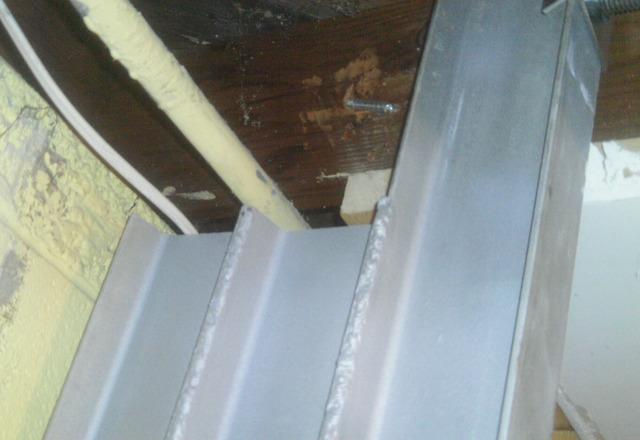
Closer look at Customization
A closer look reveals the level of expertise that is applied to these projects.
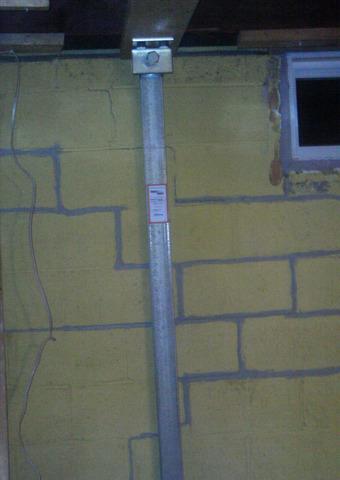
Zinc Plated
Unlike other I-Beam systems, the PowerBrace beams are coated in zinc so that it is resistant to corrosion and rust.
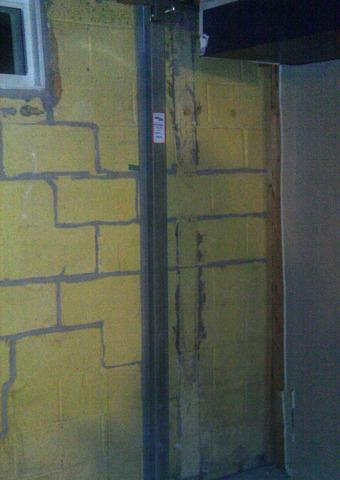
Tightening
The best part of PowerBrace is it's ability to be tightened which can potentially straighten the bowing wall.
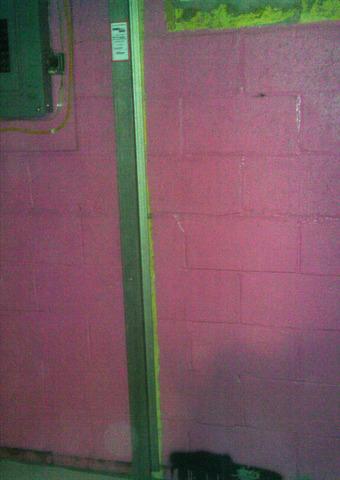
Superior Hold
Once the PowerBrace is properly installed, the wall is permanently stabilized!

