
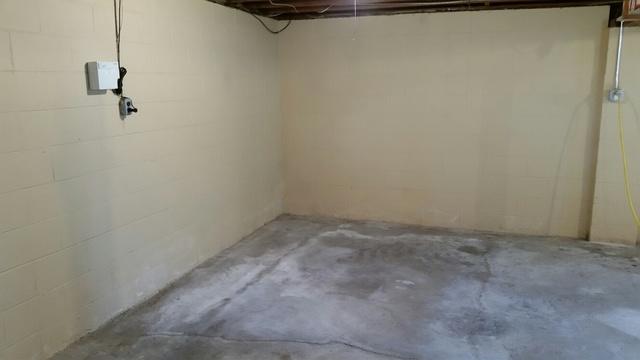
Before
This is a picture of the basement before with various cracks in the floor and walls along with some evident marks.
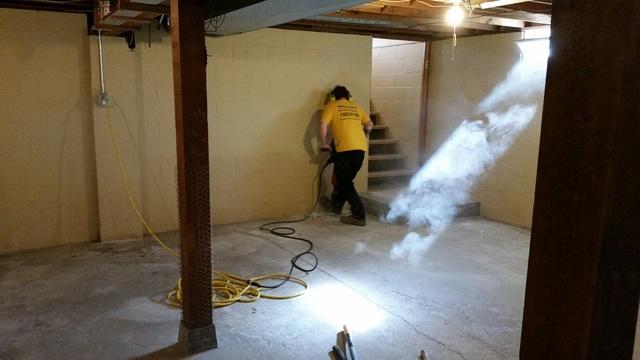
Preparing for WaterGuard
The team works diligently to prepare the perimeter for the WaterGuard installation.
Installing WaterGuard
Now that the perimeter has been prepped, the team can now work on installation.
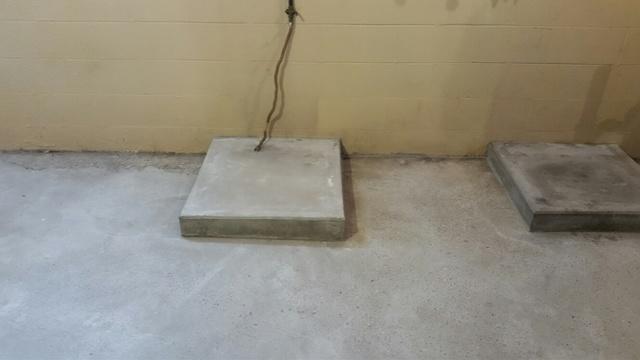
Obstacles
Sometimes there are odd obstacles that can make a perimeter installation tricky, however the professional at MidAmerica Basement Systems has a sure fire plan.
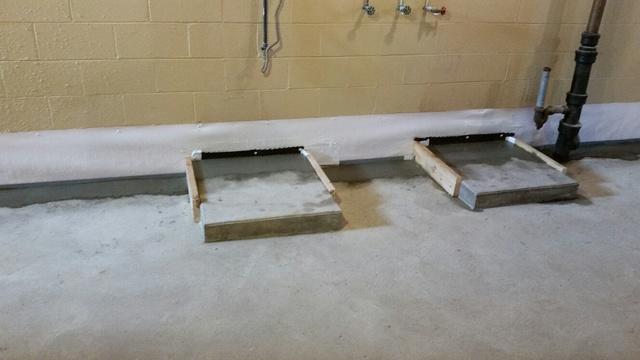
Overcoming Obstacles
Normally, obstacles like this may be ignored by other companies which could pose a problem as that would leave gaps in the perimeter drainage system and render the basement susceptible to future leaks/floods. However, the MidAmerica Basement Team was able to overcome the obstacle and secure the perimeter.
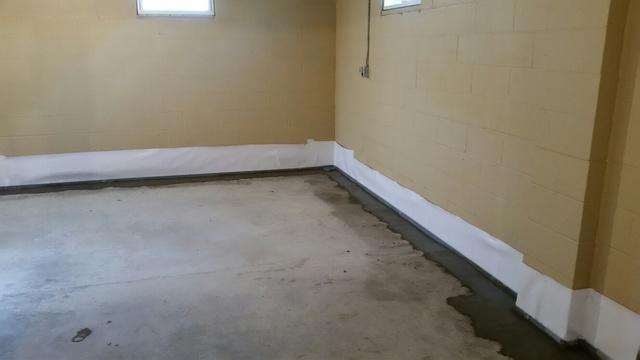
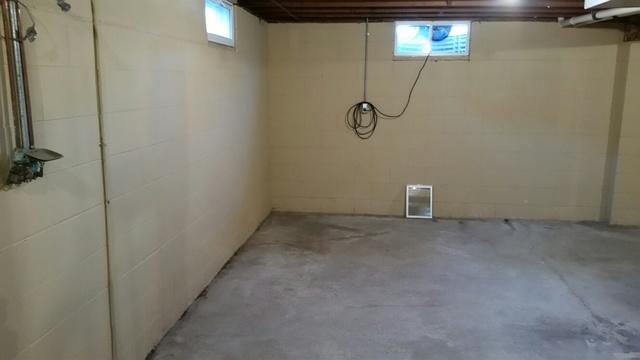
Finished Project
The basement after WaterGuard installation with a strip of CleanSpace liner on the bottom to further waterproof space.
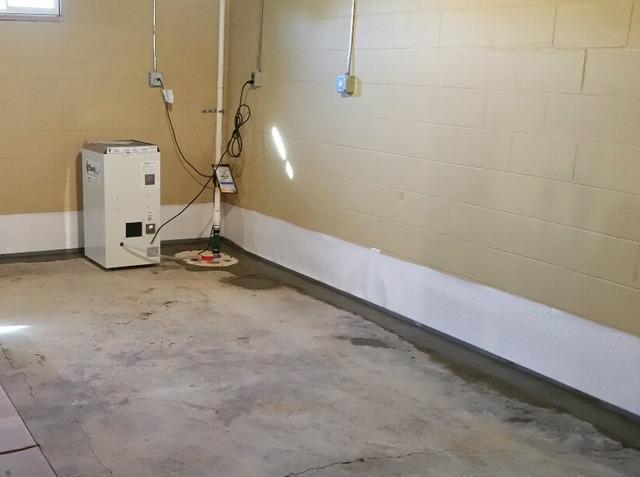
Waterproofed Basement
A picture of the complete waterproofing project with WaterGuard, CleanSpace, SaniDry XP and TripleSafe sump pump.