
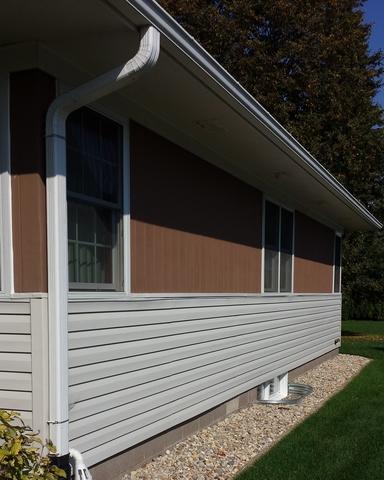
Before Installation
East side of the home prior to Radon installation.
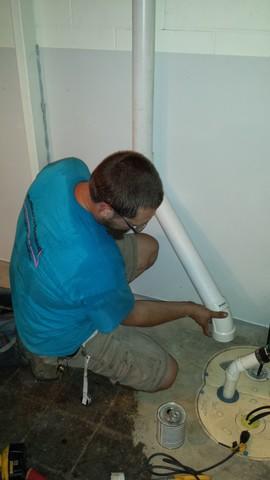
Bill Installs Mitigation Pipe
Job Foreman Bill Wilcox installs the PVC pipe into the sump pit to pump out radon away from the home.
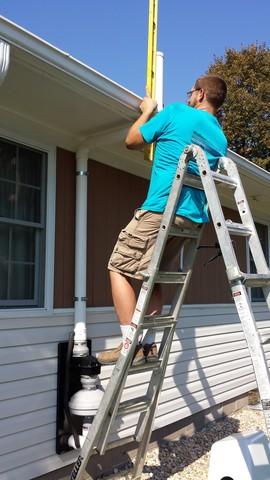
Bill ensures the pipe is level
Job Foreman Bill Wilcox measures the exit pipe to ensure that it is level above the roof of the home.
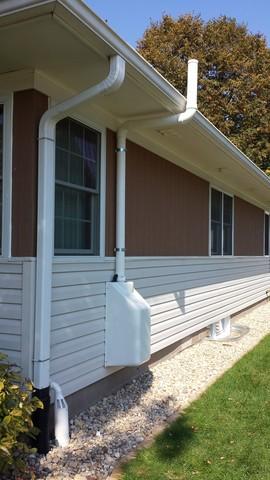
After Installation
East side of the home after the installation. You can see the new system now is fully installed.
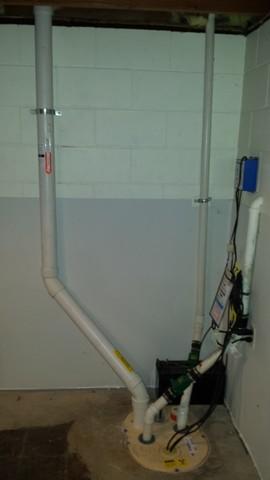
After Installation into the Sump Pit
The new PVC exit pipe coming out of the sump pit, safely removing Radon from the home.