

Preparing Floors and Walls
Crew member is preparing foundation floor and walls for new waterproofing system.

Prepping the Basement
Staircase is prepped and ready to undergo Total Basement Finishing.

SuperSump Pumps Installed
Two SuperSump pumps are installed in home to maximize all areas of the basement – one in main area, one in bathroom.

SaniDry XP System Installed
SaniDry XP duct system installed to keep moisture out of the basement.

Framing the Walls
Metal frames are installed so EverLast Walls can slide into place.
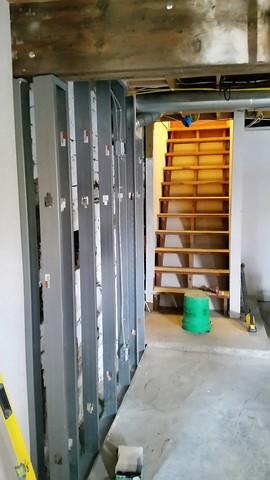
Installing Metal Framing
Metal frames are approximately 4 feet wide. Allowing for a tight, secure fit around the EverLast Wall(s).

EverLast Walls Installed
EverLast Walls are thick enough to keep in heat that installation isn’t necessary.

Finished Look
A EverLast Wall is placed on side of staircase to create a finished look.

Preparing Rafters for Ceiling Installation
Preparing the rafters to fit and install ceiling tiles.

EverLast Wall added in Bathroom
A sheet of EverLast Wall was placed above the shower to keep moisture from damaging drop ceiling.

Ceilings and Lighting Added in Bathroom
A new ceiling and venting-light system was added to the bathroom to give it a finished look.
Installing ThermalDry Elite Flooring
ThermalDry Elite Flooring looks exactly like hardwood floors, but it is actually an inorganic, plastic material that comes in a plank form.

Heating the Basement
Electric baseboard heaters installed to heat the basement.

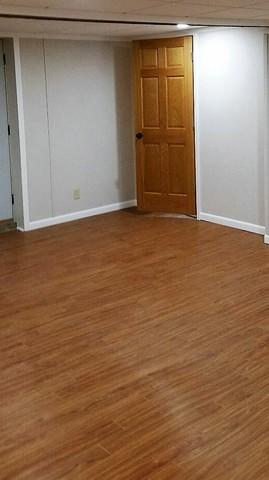
Inviting Space
A new door was installed to pull the whole look together. It is now a basement that can be used as a main entertainment spot.

New Look
Finish project shows a brand new room – would never guess it was a basement!