
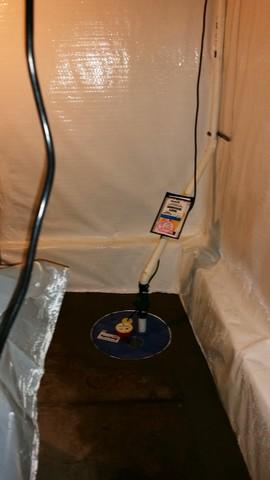
SuperSump, CleanSpace and WaterGuard
The basement has CleanSpace on the walls, WaterGuard at the joints, and a SuperSump to keep all the water out!
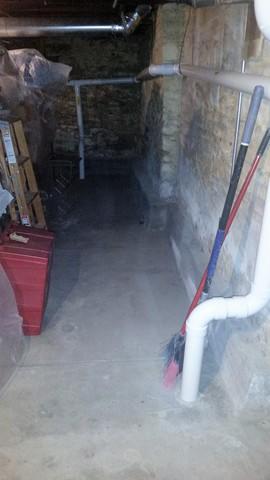
Prior to Install
The water damage can be seen at the lower part of the walls.
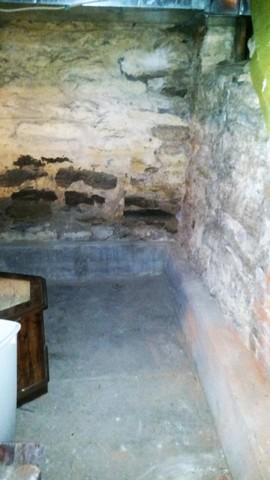
Corner Damage
The walls at the corner of this basement are damaged by water, as evidenced on the lower bricks.
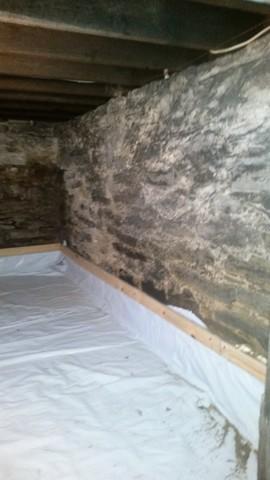
CleanSpace Floor
The first step in an encapsulation is encapsulating the floor. CleanSpace lines the floors, and will soon also line the walls.

Full Encapsulation
The portion of the basement that is encapsulated, is bright and white from the floors to the walls.
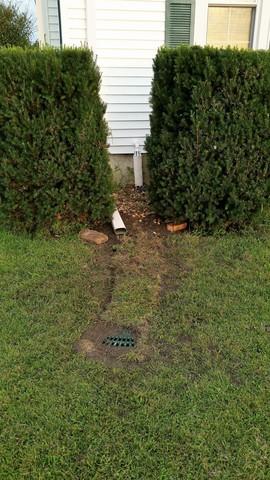
LawnScape Drainage
The LawnScape marks where the water will pump out of the sump pump, a safe distance from the foundation.
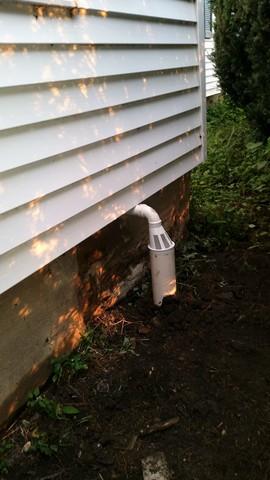
IceGuard
IceGuard is installed, and in the event of frozen pipes, will keep water from backing up in the basement.