
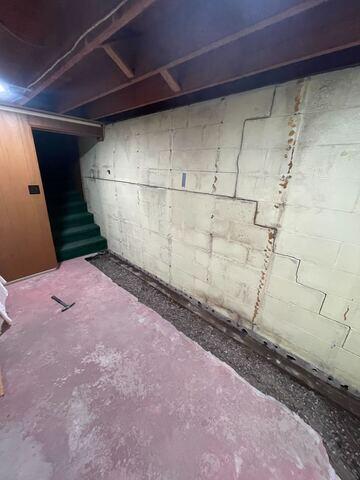
During
Pictured is the perimeter of the basement broken out and ready for WaterGuard to be installed.

During
Pictured is the sump pump installed prior to concrete being repoured over the full perimeter drainage system.

During
Pictured is another area of the basement broken out for the full perimeter drainage system to be installed.
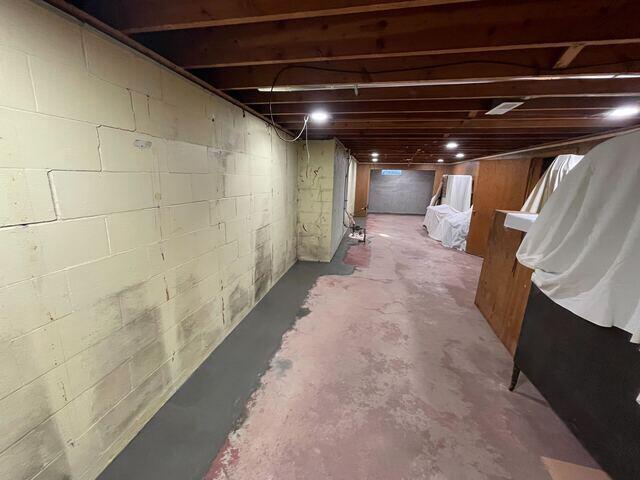
After
Pictured is the sump pump with fresh concrete from the full perimeter waterproofing system installation.
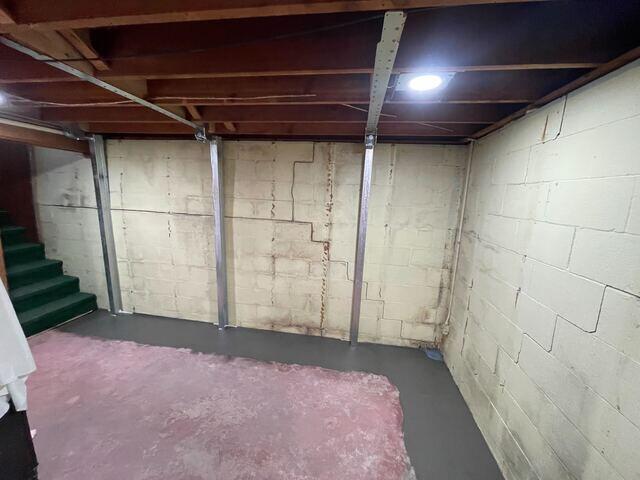
After
3 PowerBraces to stabilize the foundation walls and fresh concrete from the full perimeter waterguard install.